
Article: Unlocking Convenience: A Step-by-Step Guide on How to Use a Can Opener
Unlocking Convenience: A Step-by-Step Guide on How to Use a Can Opener
Opening cans may seem like a straightforward task, but if you've ever struggled with a can opener, you're not alone. These handy kitchen tools come in various designs, and learning how to use one effectively can make meal preparation a breeze. In this guide, we'll walk you through the process of using a can opener step by step, ensuring you're ready to tackle any can with confidence.
Step 1: Gather Your Tools
Before you begin, ensure you have the following items ready:
-
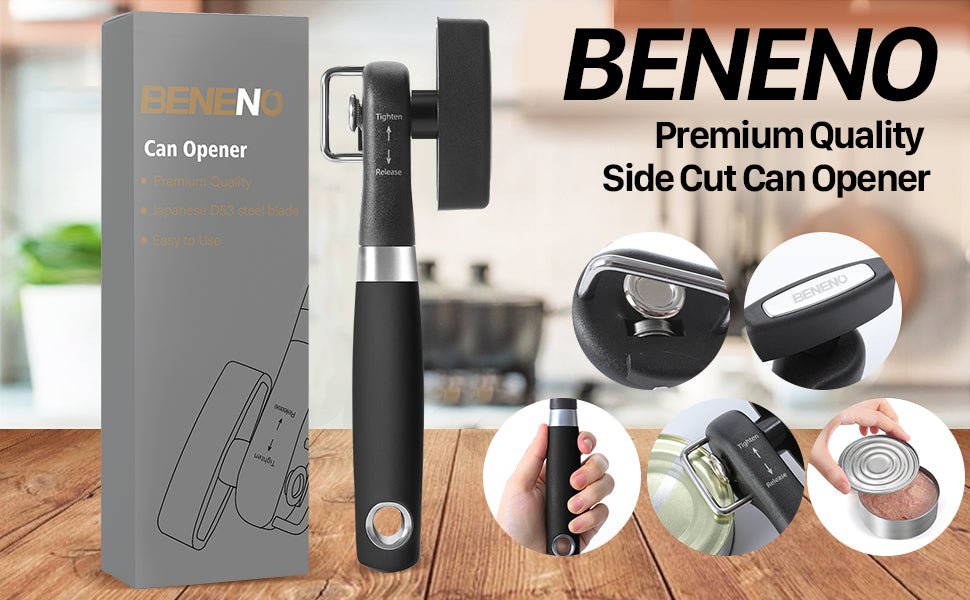
Can Opener: Select a reliable can opener. There are two common types: manual and electric. For this guide, we'll focus on manual can openers.
-
Can: Choose the can you want to open. It could be a can of soup, beans, vegetables, or any other canned food item.
Step 2: Position the Can
Place the can on a stable surface, such as a countertop or table. Ensure it's steady and won't wobble during the opening process. The label of the can should be facing you.
Step 3: Inspect Your Can Opener
Take a moment to familiarize yourself with your can opener. Most manual can openers have the following parts:
- Handle: The part you hold while operating the can opener.
- Rotating Wheel: The serrated wheel that punctures the can's lid.
- Cutting Blade: The blade that cuts along the lid's edge.
- Lid Lifter Magnet: A small magnet designed to lift the lid once it's cut.
Step 4: Position the Can Opener
Position the can opener on top of the can's lid. The serrated wheel should be directly over the edge of the can's lid, with the cutting blade resting on the outer rim of the lid.
Step 5: Start Turning the Handle
Hold the can opener's handles firmly with both hands. Begin turning the handle in a clockwise direction (for right-handed users) or counterclockwise (for left-handed users). As you turn the handle, the serrated wheel will start puncturing the lid.
Step 6: Continue Turning
Keep turning the handle smoothly and steadily. The wheel will create a circular cut along the edge of the lid, gradually separating it from the can.
Step 7: Lift the Lid
Once you've turned the handle all the way around the can, you can now lift the lid. Many can openers have a lid lifter magnet, which will cling to the cut lid as you lift it, making it easy to remove without any sharp edges.
Step 8: Enjoy Your Meal
With the lid removed, you can now enjoy the contents of the can or use them in your recipes. Remember to dispose of the lid safely, as it can still have sharp edges.
Using a can opener is a simple yet essential skill in the kitchen. With practice, you'll become a pro at effortlessly opening cans, adding convenience to your cooking routine. Whether you're preparing a quick meal or incorporating canned ingredients into a larger recipe, a well-used can opener will be your trusty kitchen companion.
Read more

Popping Bottles: The Ultimate Guide to Wine Openers and Corkscrews
Introduction: There's something enchanting about the pop of a wine cork—the promise of a delightful sip and the potential for memorable moments. To embark on this sensory journey, you'll nee...
Read more